b2

Friday, 3 July 2015

Lenovo a7000 hidden trciks


On the same floating notification center, Vibe UI 3.0 also features an option named Wide Touch, which lets you create a tiny floating icon for accessing utility apps including camera, music, calculator and so on. The option helps you to open one app without exiting the existing apps. Activate the option from the floating notification toolbar (usually found in the third row).
Apart from the existing utility apps in the Wide touch toolbar, you can customize the featured apps.

For enhancing the Lollipop notification more, the Lenovo A7000 features a utility named Pocket Mode. The feature is now available only in A7000 and can be accessed once your A6000, A6000 Plus or A5000 gets upgraded to Android 5 Lollipop.
Navigate to Settings>> Ringtones and Volumes and locate the Pocket Mode toggle just below the Power on Tone toggle. Activating the mode will increase the ringer volume louder when the phone remains inside the pocket and receives a call.


Though most of the Lenovo made smartphones offers decent battery life, the Vibe UI features an utility mode for those seeking some more battery life out of the device. Named as super power mode, it can be enabled/disabled from the notification toolbar.
Once you activate the mode, the phone interface will be redrawn with a basic one, with basic functions like current time, remaining battery life and important features like call, text ad a few. Remember, the mode won't let you to navigate web pages or use any app.
Like MIUI, the Vibe UI also lets you beautify the device interface with lots of themes, wallpapers and other customisation. Tap the Menu key once, and you will see a floating option screen with lots of option like edit the home screen, change the theme or wallpaper, add or delete home screens and so on.
The latest Vibe UI features several themes and lets you control the notification style, change lock screen and more.

Lenovo a7000 Hidden tricks Open and Secure Zone

Lenovo a7000 Hidden tricks Open and Secure Zone

Lenovo has emerged as a key player in the Indian smartphone market. This year, the Chinese smartphone maker has launched four new budget smartphone under ₹10,000 with decent success. 

Tapping the open zone icon will activate the secure zone and change the home screen with stock Android like interface. For setting the secure Zone, navigate to System and locate Secure Zone Management under System section. You will find lot of settings options including Start at Boot, Floating Button, Contacts Sharing and Auto switching. The mode also lets you import specific installed apps from open Zone.

Thursday, 2 July 2015

Root lenovo A7000 No pc required

 ___________________________________________________________________________

CAUTION : IM NOT RESPONSIBLE IF ANY DAMAGE OCCUR TO YOUR MOBILE 
_____________________________________________________________________________

Guide To Root Lenovo A7000
How To Unroot
Open Kinguser, go to Settings -> Root authorization setting -> Remove Root permission. Click to remove root permission

That’s it. Now you have successfully unrooted your device. If you face any challenges while following this rooting and unrooting tutorial, do let me know using the comments section below.

DOWNLOAD APP (via cnet) CLICK HEAR 

TWRP Recovery 2.8.7.0 for Lenovo K910SS / E

This is TWRP 2.8.7.0 recovery with custom Play theme for LENOVO K910SS / E version and it is compatible with 4.4.x ,  CM11, CM12 and CM12.1. This TWRP is compiled from lollipop source .


First of all, note the following: a) You must be root
b) The bootloader must be unlocked (if not already unlocked, see instructions)​

Use this Unlock Bootloader instructions to unlcock bootloader.

 
Changelog:
"
  • Initial ground work for software drawn keyboard (_that)
  • Fix handling of wiping internal storage on datamedia devices (xuefer)
  • Allow DataManager to set and read values from the system properties (xuefer)
  • Fix crash when taking screenshots on arm64 devices (xuefer)
  • Fix error message after an ORS script completes (Dees_Troy)
  • Fix crashes / error when creating encrypted backups (_that, Dees_Troy)
  • Add system read only option – more details below (Dees_Troy)
  • Add resize2fs and GUI option to run resize2fs (Dees_Troy)
  • Fix crash loop caused by empty lines in AOSP recovery command file (_that)
  • Prevent duplicate page overlays such as multiple lock screens (mdmower)
System read only option: Devices that ship with 5.0 and higher as their initial OS are using block level OTA updates. With this style of OTA update, the update script checks to see if the system partition has ever been mounted read/write. Further, the script also usually runs an SHA sum of the entire system partition to detect if any changes have been made. If any changes have been made, the OTA update will refuse to install. Since not all OEMs and devices have factory images available, we have created a new feature in TWRP that detects if the system partition has ever been mounted read/write. If not, you will be prompted asking if you want TWRP to mount system as read/write. If you choose not to allow TWRP to mount as read/write, TWRP won’t prompt to install SuperSU and TWRP won’t try to patch the stock ROM to prevent TWRP from being replaced by stock recovery. The goal of this option is to hopefully allow the user to make a raw system image backup that they can use to get back to a state where they can take OTA updates again.
resize2fs feature: On some devices like the Nexus 6, the factory images include a userdata image that is the proper size only for the 32GB units. If you flash the factory image to a 64GB Nexus 6, the data partition will appear as if it only has the free space of a 32GB device. Using the resize2fs option, TWRP can resize your data partition to take up the full space available. The resize2fs may also be useful to resize system partitions on devices where custom ROM system images don’t take up the full partition space. Lastly, resize2fs may be useful in some cases to reserve the proper space at the end of a data partition for a full disk encryption key, should your partition be formatted incorrectly for some reason.


Install only the modified recovery

Instructions:

Metod 1:
1. Lenovo_K910SS_TWRP-2.8.7.0_by_master_lie.zip  from the above links

2. Move zip file into sdcard
3. Restart your device in recovery
4. Select the archive and install TWRP Recovery

5. Reboot device
 
Metod 2:
1. FLASH_TWRP_recovery_2.8.7.0_K910SS_4.4.7z from the above links
2. Unpack the archive, so there are no gaps in the title and up the path to the unpacked folder, for example C: User Your_name FLASH_TWRP_recovery_K910SS_4.4
3. Run bat:
FLASH_recovery_with_unlocked_bootloader.bat - to flash recovery when unlocked (unlock) loader (fastboot).
FLASH_recovery_DD_with_root.bat - to flash recovery with of locked (lock) bootloader (fastboot), but with the right Root.
RUN_recovery.bat - for one time run recovery with unlocked (unlock) bootloader (fastboot), without flashing.
4. Wait for reboot device in new recovery.
5. Enjoy.

DOWNLOAD HEAR   TWRP

DOWNLOAD HEAR    FLASHTYPE


IF YOU ARE UNAVAILABLE TO DOWNLOAD PLEASE MAIL OR GO TO CONTACT US,
WWW.EXPLORESPACE.WEBS.COM
THANK YOU 


Lenovo k3 root ( I anticipate that I will, nor the forum will take responsibility 'of malfunctions and \ or damage!)

Modding Lenovo K3 Note
I anticipate that I will, nor the forum will take responsibility 'of malfunctions and \ or damage!

Part One - CMW Install and Root command line

In this thread, I'll describe a simple, fast, and definitely safer than SPFTools.
SPFTools VCOM working on ports that are not always recognized, sometimes give problems also installing special drivers, they are almost always a problem for Windows because of the signatures on the driver.

Closed this little digression for information, we start with the drivers:


Quote:
Driver Lenovo K3 Note + PDAnet+:
https://mega.co.nz/#!O4lmBaZa!jCUk1z...xi6TXuwcBOCv5k
Install all drivers Lenovo inside. Once you finished enable the USB debugging and wait for Windows to complete its configuration.
When completed restart the PC and install the utility on the device:

Be sure to restart to have all the drivers installed correctly and stay in Debug USB.
Without this included in your terminal this .zip file to obtain permits Root later:

Now download this Minimal ADB (with Recovery K3 notes included) from here:

Quote:
Minimal ADB & Fastboot + K3 Note Recovery (CWM):
https://mega.co.nz/#!rs0lHZrI!hE3Ux9...92uU0KJB3iQNdo
Now comes the fun part!
Unzip the zip file and open the file py_cmd.exe and quietly run these commands:

Code:
adb devices
To ensure that the PC recognizes the device, and if it should be unauthorized make sure that USB debugging is enabled.

Code:
adb reboot bootloader
This command will reboot the phone on a black screen, going in fastboot .

Code:
fastboot devices
This command will confirm the above.

Code:
fastboot flash recovery recovery.img
This command will install the much sought CWM, but it is not over yet!

Code:
fastboot reboot
This command will restart the device.

Perfect! now to get root permissions, there will be that off the device, wait a few seconds and turn it on using this key combination:

Quote:
VOLUME UP - VOLUME DOWN - POWER
Wait until the CWM is not playing, choose obviously the English language.
Subsequently searching

Code:
install zip
... and subsequently ...

Code:
choose zip from /sdcard
... looking for that zip file SuperUser inserted at the beginning.

Et voila! The device is unlocked and ready to receive new rom and functionality!

Part Two - Install new ROM from SPFTools CWM does not work when

Many with the above guide you tried to change the finding in eom stuck.
With this procedure you can go back, but before we move forward I want to give you a few details regarding the update of the rom:

*- The rom mounted on chinese devices with Play Service support and multilanguage already moddate the seller.
*- Given the above, download a rom 'official' (see NeedRom) carrying the phone in its native state.
*- If you need to download the latest versions from the site VibeUI not download the latest available, sometimes the downgrade is not possible (personal experience).

Let's start!

First, before you go ahead to make sure you have followed the guidance post 100% in the first part of the thread.
Follow the link:

Now unpack everything and put it in a folder convenient for you.

I post the link of a rom in case I tried to see if this will work, even to you. To me it is working well.
In the third part if this rom works almost everyone will get all roms that I find around and decide what to do and what to do.

Quote:
Rom 1949Deal:
https://www.dropbox.com/s/zep53n1j21...20rom.rar?dl=0
Password: 1949dealjoy
Once downloaded, extract directory in a readily available and open flash_tool.exe .

Before we go on, first remove the battery and attach only the USB cable, then set the SPFTools this:

Set in this way the program.

In step [1] look for the previously extracted folder and locate the file.

Give the program a few seconds to load the rom, and after leaving it in Download Only Click Download .
Obviously nothing will happen, to make sure that going forward, you can simply insert the battery and wait for the completion of the transaction.

Reinstall the back cover and turn on the device. Give it about 8/10 minutes for the first startup.

Et voila! We are again ready to modding this Lenovo K3 notes!

Part Three - Collection ROM

In update


You will not find in this type of tour guides, as is the link is driving are my own work, so excluding the Play app store are my property. If you have any problem with the link, do not hesitate to ask.

SlimKat, 4.4.1 KitKat Custom ROM for Lenovo

SlimKat_001
While for now, many Chinese smartphone user is waiting for ROM update in their hadnset, but they worry to update with Custom ROM since there is no many options when they trying to rooted their phone, is now the SlimKat is coming with posibilities.

SlimKat is the one of ROM KitKat 4.4.1 with stable release for most Chinese smartphone such as Lenovo S660,Gionee Elife E3,Gionee Elife E5,Huawei Honor 3C, Alcatel One Touch Pop C7,Xiaomi Hongmi, and Xolo Q1000s, while for the last one is not coming from Chinese smartphone manufacturer :)
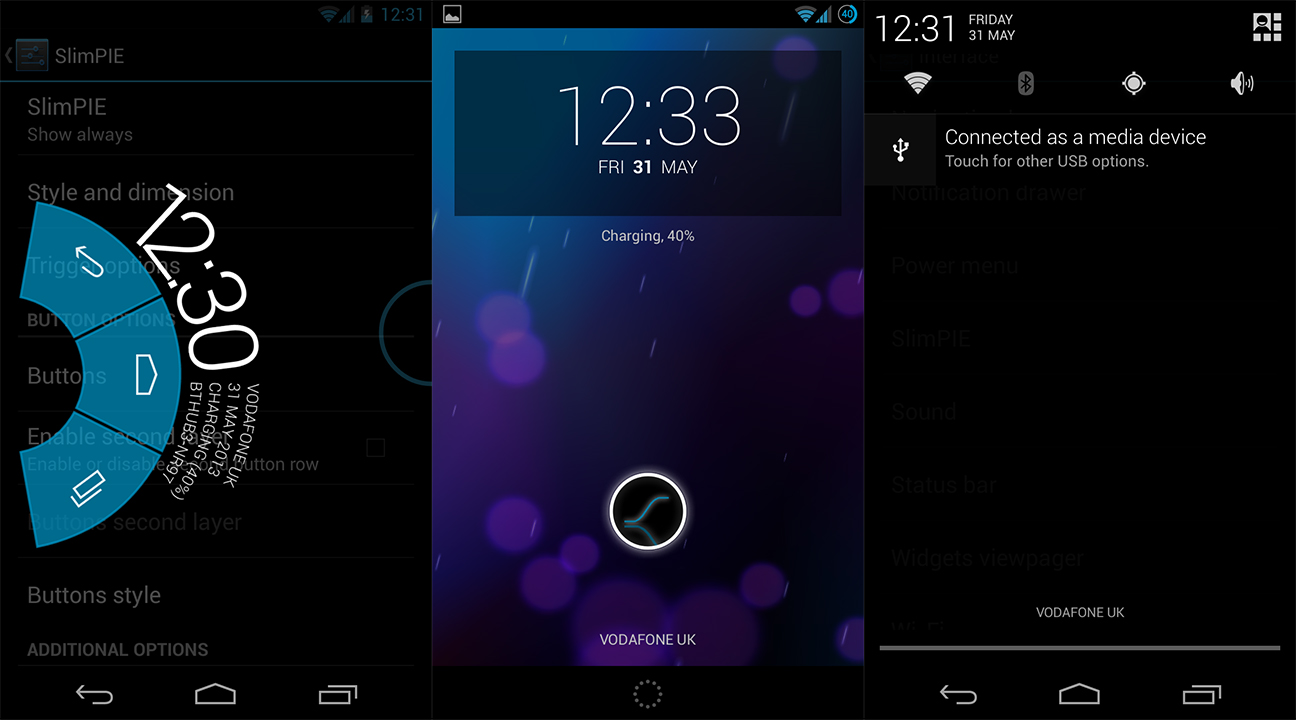
The SlimKat is offers new feature sucn as res New The real dark Slim, invert the whole ROM including GAPPS with one click, notification drawer and and lockscreen shortcuts, access your most important apps from everywhere, custom Quick Settings Tiles, SlimPIE based on CM’s PIE, inspired by PA’s PIE with a light touch of Slim. A true community feature, discover our unique Camera feature.
Android-ROM-liquid-smooth
Android-ROM-Slim-Bean
Here is SlimKat installation instructions
Be sure to follow these instructions to the letter.
  1. The first thing to do is to make sure you have the latest recovery installed.
  • Note that recommended recovery (CWM or TWRP) varies from device to device so make sure you check our forums for your device’s thread and install the recommended recovery stated in the OP. The easiest way to flash the recovery is to either use Goo Manager app for TWRP or Rom Manager app for CWM.
  1. Download latest SlimKat and latest gapps and put on your sd card.
  • You’ll find the latest SlimKat for your device
  • And look for the latest SlimKat gapps 

  1. Flash SlimKat gapps zip.
Reboot, setup and enjoy.


CWM for lenovo A7000

Read - Working method for installing CWM recovery and rooting lenovo a7000Requirements for installing cwm recovery and rooting lenovo a7000
1. Windows Pc, I recommend you to use Windows 7. Because I tried this method on windows 8 and windows 8.1 but not worked for me.
2. Do a backup of your phone [ contacts, messages, media and other data]
3. Enable USB debugging on your lenovo A7000 
   Go to setting >> Developer options >> USb debugging
   [If developer options not found in setting, then go to settings>>about phone>>device info and click on build number for 7 or 8 times]
4. go to seetings>>security>> and enable unknown source option
5. Maintain minimum a 60% charge on your phone 
6. Download the tools for installing cwm recovery and rooting Lenovo a7000 from here
    Contains the following files: A7000-CWM-Final (contains maxritz.img and 6752 scatter file)
                                                  Lenovo-A7000-Upgrade-Tools-techolaty.net (SP Flash tools)
                                                  Update Supersu.zip [ COPY THIS ZIP FILE TO YOUR PHONE SD]
                                                  VCOM (mediatek drivers for windows 7)
Now read the full steps to root lenovo a7000 and install cwm recovery
DISCLAIMER: In no means we are responsible if you brick your phone or your SD card dies or your phone behaves abnormally. It is your sole and your own responsibility to root your phone. If you’re unable to boot up your device or cannot root then it is not our fault. We warned you already about this.
STEPS - INSTALL CWM RECOVERY AND ROOT LENOVO A7000
1. First Extract all files you downloaded [from above]
2. Now install Vcom driver on your windows 7 PC.
    Steps to install mediatek drivers - read now
3. Now Open SP flash tools


4. Now select on Scatter loading and browse MT6752 scatter file and select download only option [check the image for clarification]
8. Now switch off your device and pull battery out.
9. Then Connect your device with a good USb cable [without battery]
      Press Volume UP, down and lock button simultaneously, then you will enter in to recovery mode
14. There select language>>select install zip>>select update super su [that you copied to sd card]
15. Now reboot your device, you are done. You are successfully rooted and installed cwm recovery on your lenovo a7000